
Technology
Laptop Gaming: Benchmarks That Actually Matter
Why the Right Benchmarks Matter for Laptop Gaming
Laptops hide performance behind thermals and power limits, so traditional desktop-style benchmarks often mislead. This article focuses on the practical metrics that actually matter for portable gaming: frame rates, 1% lows, frame times, thermals and power behavior, display characteristics, storage bottlenecks, and real-world tests.
You’ll get clear guidance on what to measure, how to run tests and interpret results to match your use case—esports, high-refresh AAA, or battery-conscious play. Use these sections to choose and evaluate laptops the smart way.


Core Performance Metrics: Frame Rates, 1% Lows, and Frame Times
Average FPS — useful, but incomplete
Average frames per second (FPS) tells you the rough speed: 60 FPS feels smoother than 30 FPS. On laptops, though, average FPS can mask drops when the GPU downclocks under heat or battery limits. Tip: measure averages across several play sessions and at the resolution/settings you actually use (e.g., 1080p high vs 1440p medium).
1% and 0.1% lows — the “worst-case” moments
1% and 0.1% lows show the slowest frames (the bottom 1% and 0.1% of samples). If your 1% low is far below the average, you’ll notice stutter during action-heavy scenes. Practical tip: prefer systems with a small gap between average FPS and 1% lows — that gap predicts perceived smoothness.
Frame times and microstutter — read the graph
Frame time graphs (ms per frame) reveal spikes and irregular spacing that averages hide. Use tools like CapFrameX or MSI Afterburner/RTSS to capture frame times; look for consistent flat lines rather than jagged spikes. If you see periodic spikes, investigate thermal throttling, background tasks, or storage stutters — issues we’ll unpack next when we talk about thermals and power.
Thermals and Power: How Heat and Power Limits Shape Performance
How cooling design changes real-world clocks
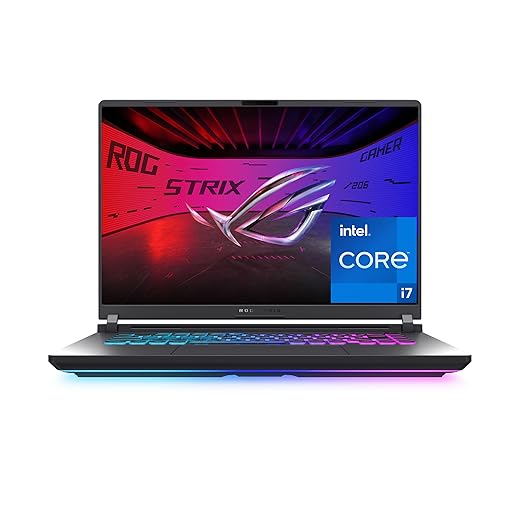
Thin chassis, fewer heat pipes, and conservative power delivery force CPUs/GPUs to hit a thermal or power ceiling. A short benchmark can show a 2.2 GHz boost clock and 120 W GPU draw, but after 10 minutes the same system may settle at 1.6 GHz and 65 W as fans spool up and temps climb. Think of boost clocks as sprint speeds; sustained gaming is a marathon limited by heat pipes, vents, and the VRM design. Compare a slim Razer Blade 15 to a bulkier Legion 5 — same GPU, different sustained FPS.
Simple tests to spot throttling
Run a 20–30 minute real-game session or loop a demanding benchmark while recording temps, clocks, and power with HWInfo/MSI Afterburner. Look for:
Try this quick checklist:
Practical fixes and expectations
If throttling appears, try an aggressive fan profile, set the Windows power plan to High Performance, or cap power/temperatures slightly to stabilize clocks. External cooling pads and a model with higher sustained TDP will give steadier FPS — but know that factory power limits are often the real bottleneck, not raw silicon.
Display and Sync: Refresh Rate, Adaptive Sync, and Resolution Trade-offs
Why Hz, not just FPS, matters
A laptop pumping 200 FPS into a 60 Hz panel is like pouring water into a cup with a narrow spout — excess frames simply vanish. Your screen redraws 60 times per second, so anything above ~60 FPS gives diminishing returns in perceived smoothness. If you own a 144 Hz or 240 Hz panel, those extra frames matter — micro-movements and input feel become noticeably crisper.
Adaptive Sync: helpful, but not magic
G-Sync and FreeSync remove visible tearing and extend smoothness when FPS fluctuates below the panel refresh. They can mask mild frame-time variance, but they won’t fix big 1% low spikes or uneven frame pacing caused by throttling or stutters. Think of adaptive sync as a shock absorber — it smooths bumps but won’t rebuild the road.
Choosing resolution and refresh targets
Pick targets based on realistic sustained FPS for your GPU:
Quick checklist:
Next section examines storage, RAM, and CPU–GPU balance so your chosen display can actually be fed steady frames.
Storage, RAM, and CPU-GPU Balance: Bottlenecks Beyond the GPU
Storage speed: load times and streaming
An HDD can turn open-world texture streaming into a slideshow; NVMe SSDs eliminate that choke point. Fast drives reduce level load times and texture pop-in, especially in games that stream assets continuously (think Cyberpunk, Red Dead). For real-world impact, compare an HDD to an NVMe and you’ll see seconds — or stutters — saved.

RAM capacity and speed
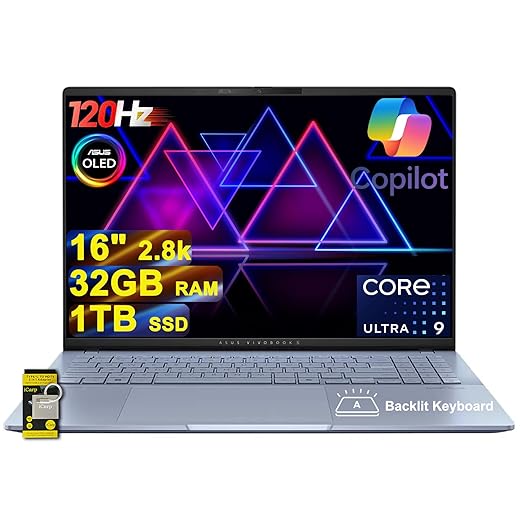
16 GB is the practical baseline today; 32 GB helps heavy multitasking, large texture packs, and modded games. Faster RAM (higher frequency, tighter timings) benefits integrated GPUs and some CPU-bound titles. Example: DDR5-5600 plus a capable CPU can shave microstutter in simulation-heavy scenes.
CPU vs GPU: how to tell which is holding you back
Check util percentages: GPU <90% and CPU cores pegged/low single-thread clocks = CPU-limited. If dropping resolution raises FPS little, you’re CPU-bound; if it scales linearly, the GPU is the limiter. Simple tests:
Quick checklist:
These steps keep your benchmarks honest and set up the next discussion on which real-world tests actually reveal those differences.
Real-World Versus Synthetic Tests: What to Run and Why
What synthetics vs real games reveal
Synthetic and micro-benchmarks (3DMark, Unigine, FurMark) show peak GPU throughput, maximum thermal headroom, and driver stability under repeatable loads. Real-game tests expose engine behavior: streaming stutters, AI spikes, shader compile hitches, and how long-term thermals affect sustained FPS. Think of synthetics as a stress lab, games as the racetrack.
Recommended quick test suite

Test conditions for repeatability
Interpreting Results and Making Decisions: Use-Case Driven Benchmarking
Competitive players: prioritize stability over peak numbers
If you chase esports wins, pick the laptop with the highest sustained 1% lows at your target refresh (144–360 Hz). Favor systems with strong cooling and a balanced CPU/GPU (Razer Blade 15 or ASUS ROG Zephyrus examples). Tune settings to cap frame rates slightly below panel max to reduce micro-stutter.
Content creators: balance GPU compute and CPU throughput
Look past game FPS — check GPU CUDA/OpenCL benchmarks, Blender/export times, and multicore CPU scores. A laptop that renders a 4K timeline faster (even if it’s heavier) saves hours. Prefer larger power bricks and efficient thermal designs for sustained workloads.
Casual players: battery, thermals, and noise matter most
For weekend gamers, prioritize battery runtime, fan noise, and weight. Choose models with good integrated graphics or efficient dGPUs, and target 60–120 FPS at medium settings to extend battery life.
Quick decision rules when comparing models
When tuning settings, start at native resolution, then lower shadow/textures before reducing resolution — you’ll usually keep visual fidelity while gaining FPS. With these rules, you can narrow options and prepare to apply them in the final buying checklist.
Putting Benchmarks to Work for Your Next Laptop
Focus on frame-time consistency and sustained performance under real thermal and power limits—those determine playability more than peak FPS. Run both real-world sessions and targeted synthetic runs to expose throttling, stutters, and long-term behavior that matter for actual gaming.
Prioritize metrics matching your use case—1% lows for competitive play, sustained throughput for long sessions, storage/RAM checks for load times. Test on battery and plugged in, choose the laptop that meets your needs.